


We used an original Venetian sash window frame and then manufactured new double glazed sashes to fit into the existing frame like for like following the original arch. The main issue with the original window is the fact that it’s single glazed and cold. The main issue was heat conservation but also, equally important was the hope that we would be able to reduce a bit of the noise too. Another advantage by having double glazed toughened glass is that you also upgrade the security of your Venetian sash window. There’s plenty of good reasons to have your windows upgraded if at all possible, especially double glazed sash.
Venetian sash windows with an arched head into the original frame. How it’s done.
The toughest issues to solve when installing new arched sash windows into the original frame with an arched head is to ensure that we get the curvature exactly right. One of the worst things you can do is install a sash and not have that right curve, it’ll look unsightly and certainly will be bothersome.
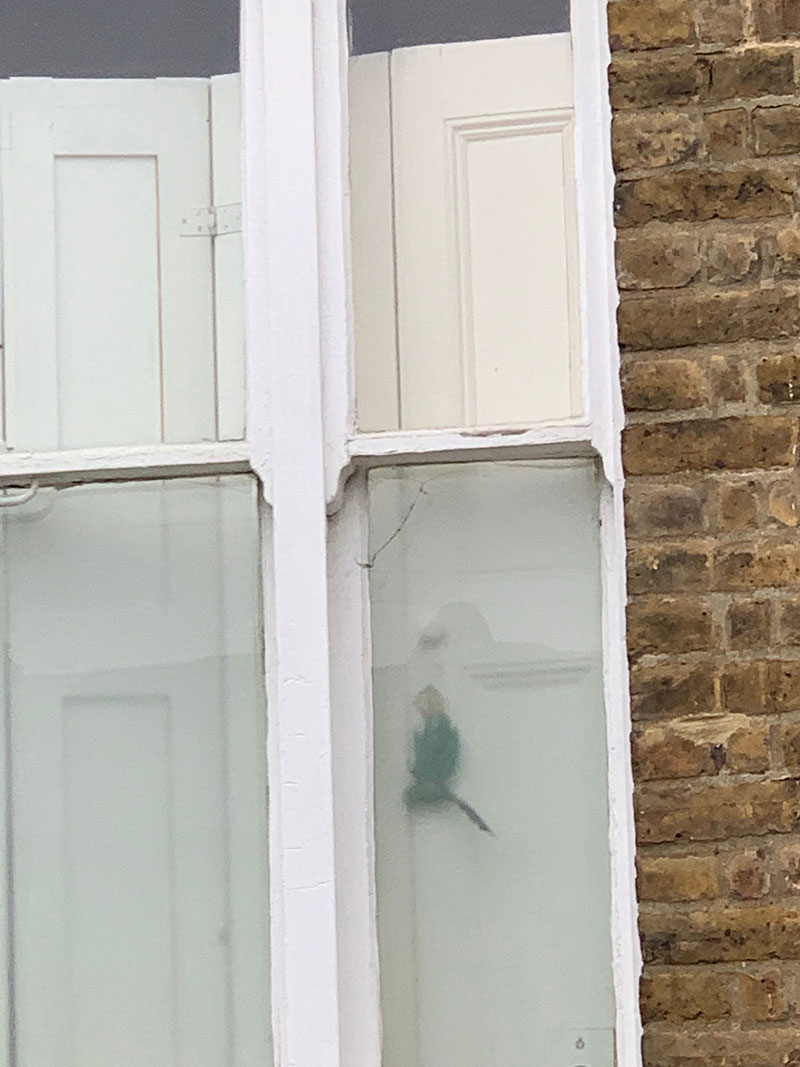
Here’s a look at the window prior to install. The arch looks lovely.

It leaves the window looking unbalanced and pretty unsightly. So the most important part is to measure up and ensure that we take the exact replica possible with a tolerance of 3mm maximum. That sounds rather small but anymore than this and you’ll certainly begin to notice.
The process of installing new curved sash arched sash into the original Venetian sash frame.
The first process is to measure accurately. This is the basis for an effective install, having exactly accurate measures makes life so much easier and the result will be a far better looking Venetian sash window, especially when an arched head is concerned. Once we have these measures and the angles of the head, it is a simple case of taking those away and manufacturing in our workshop. We also take a detailed look at the horn profiles on a Venetian sash and replicate them too.
Some 8 to 12 weeks later we will arrive back to site with your windows made ready for install. From there we begin the install process:
First stage of the install is to check that we manufactured the windows to the correct size, I know we’ve already emphasised this but it needs another check once joinery arrives, there’s absolutely no point in removing the original sash windows if we don’t have something that fits in its place after all! With measures checked we begin the process of removing the original sash. We remove the inner trim known as a staff bead. This inner trim is basically held on with pins/screws and normally sealant binds it as well. When we have the staff bead removed this allows us access to the lower sash. Removing the lower sash is actually quite easy, just a simple case of cutting the sash cords and the sash will literally lift out. If you are interested in how a window is disassembled in detail then please feel free to check my article on replacing broken sash cords. I’m just summarising the information here for the benefit of this article.
With the lower sash lifted out, we then remove the parting bead. This is the timber section that separates both of the sashes and allows them free travel and essentially stops the sashes crashing into each other. It’s important to remove the parting bead carefully and aim your chisel as parallel to the frame as possible. This separates the sealant from the frame. With the frame in good nick, it’s much easier to install the sash and make a nice, neat overall job, so it’s in our interests to ensure the frame is torn or damaged when removing the parting bead, or certainly minimise the damage as much as possible. Normally the parting bead will come out pretty easily. Occasionally, you’ll have a joiner or handyman that doesn’t really understand sash windows fully, and they might actually glue this timber section in place. This is not the correct technique but I’ve seen it many times which makes damage inevitable. With parting bead out it’s a case of free the top sash away and then cutting the cords to release that as well in the same was as we handled the lower sash.
With the frame fully exposed it’s a great opportunity to do any repairs and try and tidy the frame up as best as possible. Scraping off loose paint and doing a bit of sanding and rubbing back on the frame is extremely easy because there are no sashes, so it makes a lot of sense for us to have a little go at it. There’s another benefit to scraping off the loose paint, and that is that when the sash is going back, it’ll normally result in less machining of the new sash on site.
Checking how the arch of the Venetian sash windows look.
With the frame completely exposed, it’s now the first opportunity to offer the sashes in and make sure that the Venetian sash actually fit nicely. Venetian sash windows operate in a slightly different way traditional sliding sash windows. The main difference being the mechanism on a Venetian sash window and the normal sliding sash window. On a Venetian sash window the sash cords run behind the outside of the frames(behind the side sashes). Don’t worry if you don’t understand that, I’ve put a diagram so you can see exactly what is going on with the weight mechanism. This is really what makes a Venetian sash window.
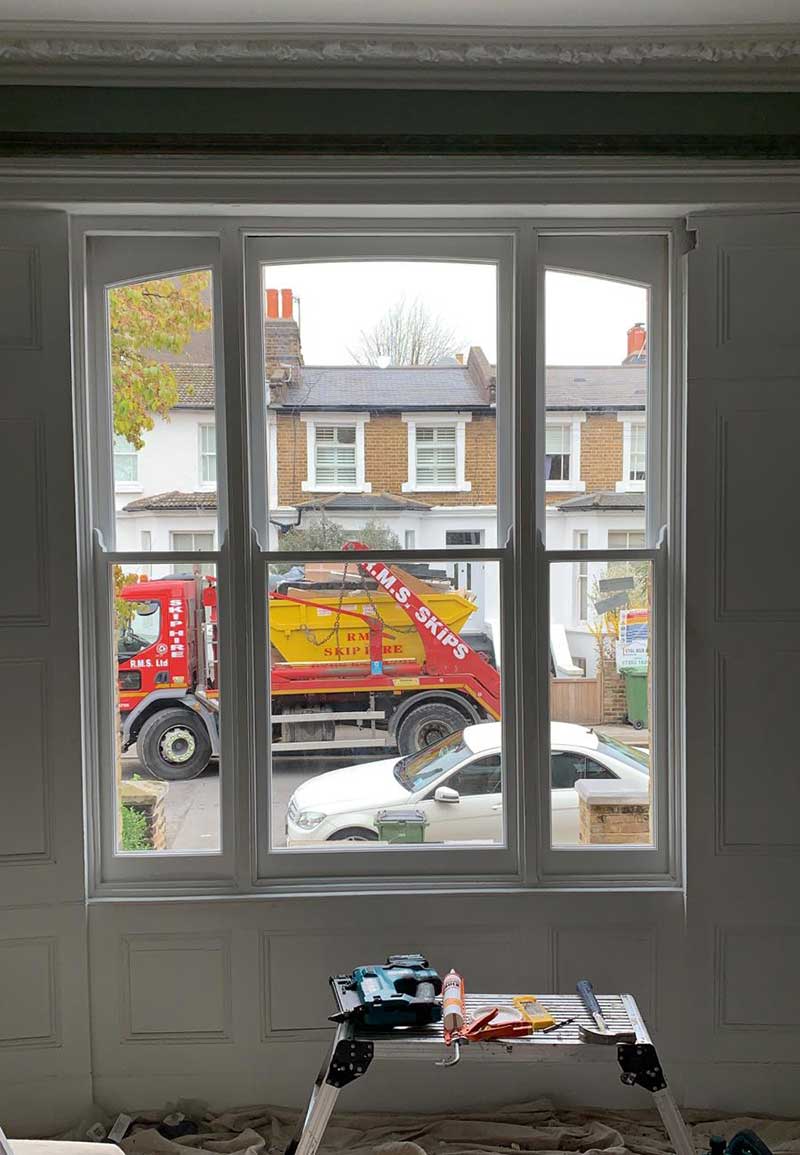
As you can see the stiles are really slender next to the frame. This means the cords run up through past the side sashes and down behind the panels.
Once we are comfortable with the fit of the arched sashes and we’ve done all of the machining it’s time to simply drop them out the frame now and begin the process of counterbalancing and adding new sash cord for the middle Venetian that will be functioning. Normally, we will need to remove the cast iron weights that are in place and replace with lead because the double glazing is heavier than the original sash. Using all cast iron would result in too much loss of travel so we have to remove them often and replace with lead balance which is a much more dense material, or certainly top the cast iron up with lead add weight.
Given the additional weight of the sash and the weights themselves we use a product called as ‘everlasting sash cords’ They pretty much they do what they say on the tin. They also carry a massive breaking strain and are absolutely ideal for replacing the sash with double glazed. The primary difference between the new cord and a traditional wax cotton is that the everlasting cord looks more vibrant and white.
Interesting fact: sash pulleys are extremely high quality on Venetian sash windows.
One interesting thing you might not of yet considered; the traditional cast iron pulley wheels are more than capable of handling the extra double glazed weight. Often companies will specifying removing and replacement. I find this to be rather inefficient because when you remove a pulley well fitted and secure, the chances of fitting one back as firmly as the original is rather unlikely.
Overall, removing the original pulleys normally results in pulleys that are not as secure. If you would like everything to be new and perfect, then it makes far more sense to absorb new window costs. Otherwise just appreciate the aesthetics not quite being perfect and save the money, new sash window prices are pretty hefty.
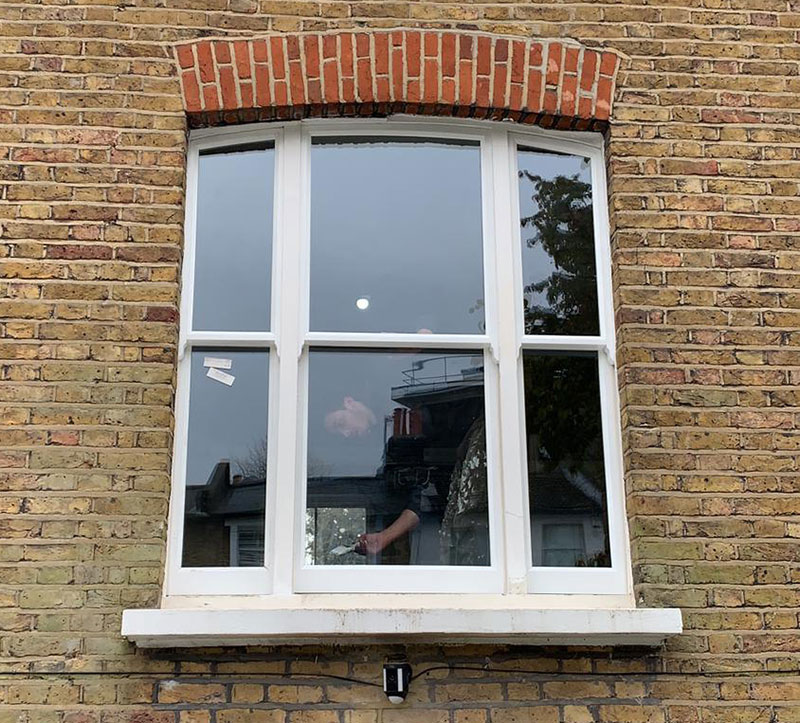
Also, replacement pulleys these days can sometimes be constructed with nylon pulley wheels. I’ve literally now replaced thousands of nylon wheeled pulleys. They have just simply broken away in a matter of years. Whereas, the traditional cast iron pulleys that were originally installed have lasted 100 years on single glazed and very very rarely failed on double glazing. I can only think of a handful of pulleys that actually failed and this is a testament to the quality of the original. I’m starting to ramble about the detail, back onto the Venetian sash windows case study! Here’s a picture of the install from the external before it’s touched in with paint.
With the window sash cords in place and the window balanced properly(by balanced I mean the sashes weigh connected to them) we then begin the process of fitting back sashes. Venetian sash windows side windows are actually fixed in place and not operational. This was the design, unlike in Walthamstow or North London where we fixed double glazed sash windows to save money. So first thing is to fix the top sash into place. We then pop the parting bead back and screw the lower sash into situate well. From here we fit staff bead and generally touch the window up to help keep it all tidy. Please note you’ll need to paint the original frame when we are finished.
Once both sides are built back in place then it’s a simple case of fitting the middle functioning Venetian. The process is almost identical with exception that the sash are hung on cords rather than screwed in, pretty obviously for travel and use! The other big difference is rather than sealing the sash in, we install a comprehensive draught proofing system.
A look at the new Venetian sashes with arched heads installed into the original frame.
With the new Venetian sash double glazed sash installed this was a pretty pleasing install and an almost identical replica of the original but with two panes of glass and an air spacer!
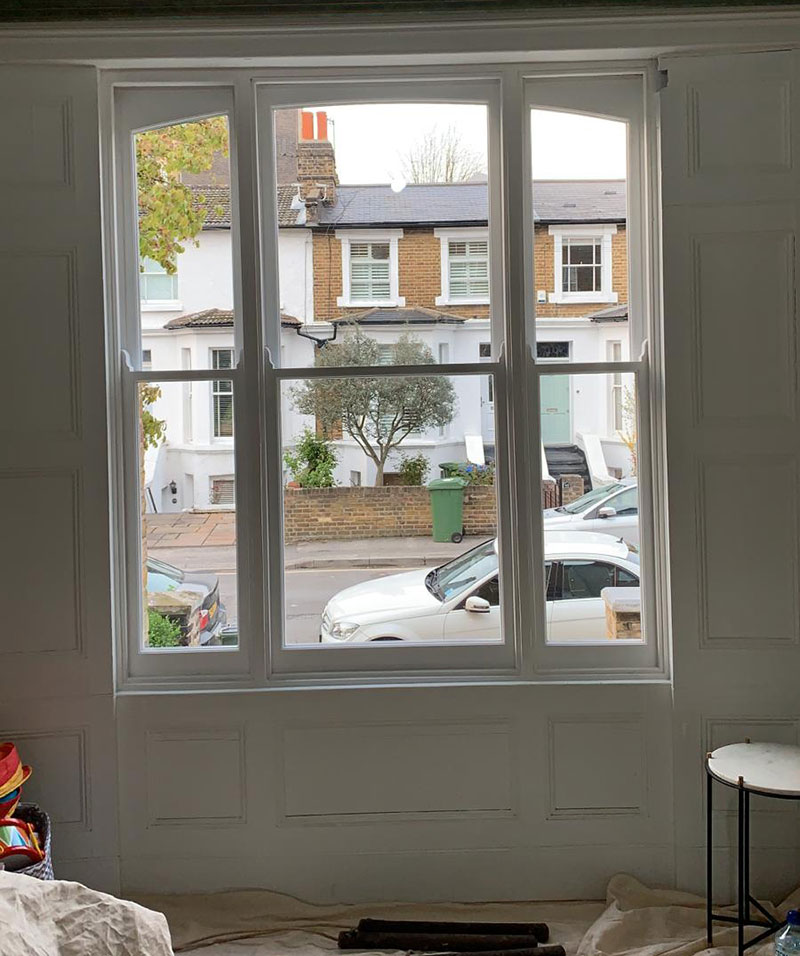
We are extremely happy with the outcome of this install because when you have a curve of this nature it’s extremely easy for things to not quite be perfect because of measure, manufacture, or fitting. There’s plenty of places it could go wrong when using the original frame and installing Venetian sash windows with arched heads but this wasn’t one. This looked perfect and saved our client literally £4000 on entire replacement!