


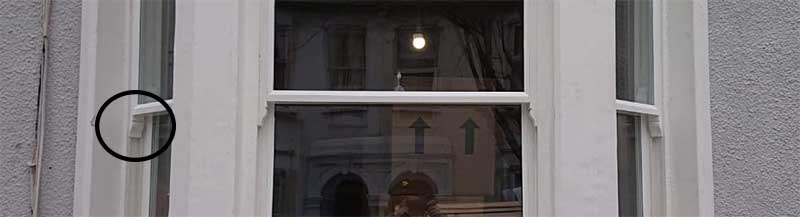
In this double glazed sash windows install we had two bays windows and a single window that needed new double glazed sash installed into the original frame. There was also the added complication of sills that needed splicing and replacing. This still works out considerably cheaper than total replacement price wise. You’ll notice in the picture of the original bay sash windows there was obscure glazing. This is an option that we offered our client but they decided they would rather an open view. While Satin glass in the lower panes is common and looks rather attractive, it can give the feel of being closed in. It’s not the ideal look for all homes, especially a home with a dead end road, there’s just not that many passers by.

Double glazed sash spec
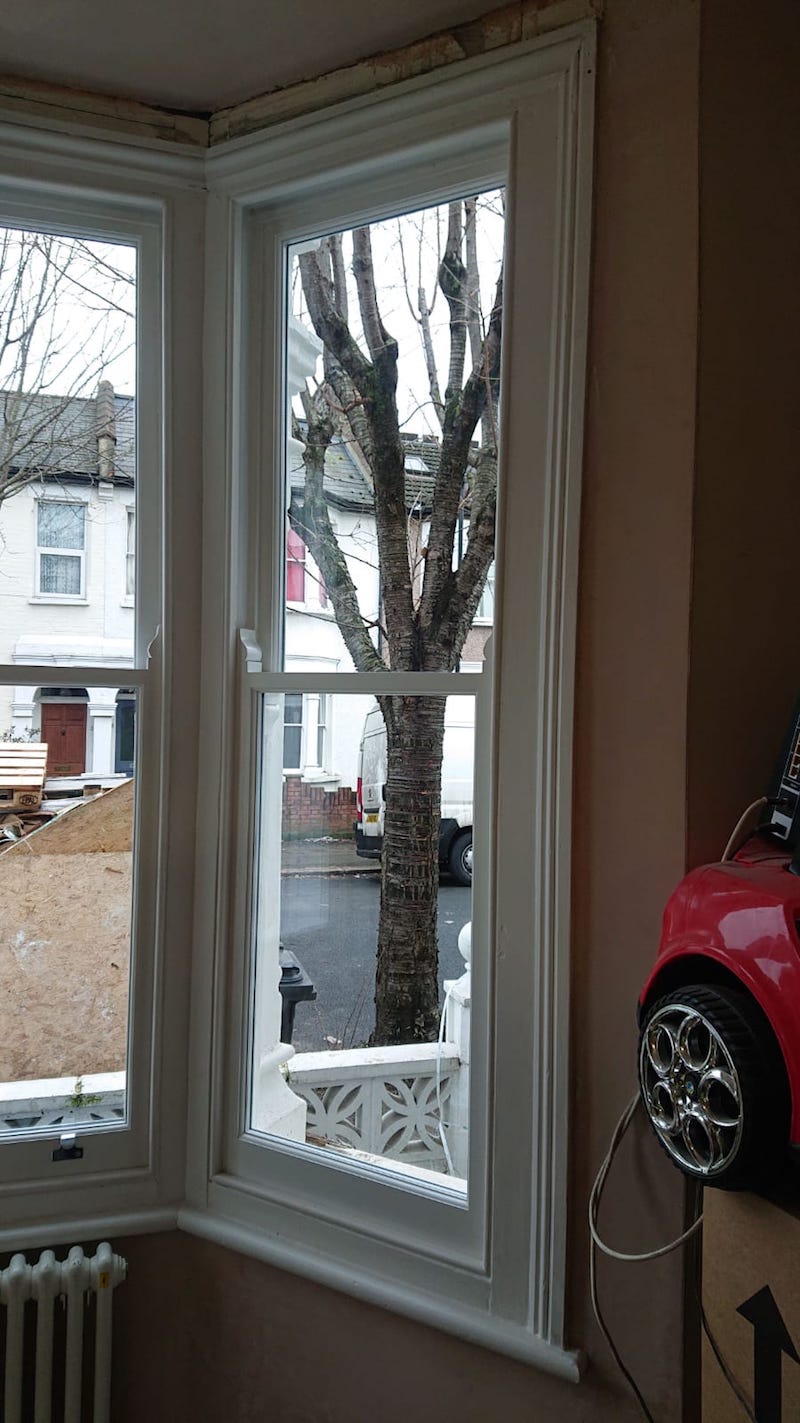
Our double glazed sash windows windows had to be manufactured over the thickness of the original frame because this was a particularly slender box and then the top sash is rebated past the frame. If that doesn’t make sense then picture below will explain it:
As you can see the sash comes past the top lip of the frame. This extra depth effectively allows us far more room to install a nice deep double glazed unit. Probably had I not drawn your attention to this minor detail it would be missed, or perhaps even with the image in place you still are struggling to see it, either way, that’s a good thing that it’s inconspicuous, after all, we are trying to keep the windows as like for like single glazed as possible. In this example we installed Argon filled, Pilkington low-E glass, with a white spacer to match in with the colour of the spray finish.
Internally we use an Ovolo profile to replicate the look of an original sash window as closely as possible. On that point, We attempt to manufacture our double glazed sash windows to look as similar to the original single glazed sash as possible. This install was pretty similar to the North London double glazed sash windows in that the original frame was used and another typical example of how we try to sympathetically attempt to maintain the original look of period properties whilst upgrade them with modern double glazing.
You’ll probably also notice just how slender the meeting rails are, we can normally keep them down to 35mm which is within the single glazing range of tolerance. This helps us keep our manufacturing process as like for like as is possible. It’s very indistinguishable to look at the
The spray finish on the double glazed sash windows is called Morrells. This spray system is used by the queen and is well known to flex and not crack in both high and low temperatures. It is almost impossible to make this paint peel because of the fine layering system. It leaves a very nice finish, far superior to any hand painted brush work, and comes with a five year guarantee. Here’s a look at the sashes sprayed:
The paint finish itself is bright white and 60% sheen. If the finish were to be compared to a standard shelf finish, it would be an oil based Satinwood. This is the paint we recommend all our clients to finish the frames with, that is assuming they don’t contract us for this element of the job. We always offer the option because there’s a considerable amount of money to be saved by doing it yourself or hiring a painter/handyman.
How the double glazed sash windows install happened.
We were unfortunately running a few days late on this install which thankfully our client was very good about. Day one, we removed the upper bay window sashes and installed the new double glazed sash windows into the original frame at customer request.
We also cleaned the glass and left this bay ready for furniture which we install all together at the end to save time. Temporarily, we fix these windows set for security, this measure is even more safe than locks and catches.
So at the end of day one we had installed the upper bay and then cleaned the glass. We have also installed the comprehensive draught proofing system into the middle sash, there was no need on the side ones as they are entirely fixed anyway. The resource is highlighted but in case you are interested here, the draught proofing system is simply a series of brush piles that run around the perimeter of the sash. This stops any draughts and noise coming through. The gaps are necessary for the sash to travel; any sash window that travels smoothly will have 2-3mm gaps all round.
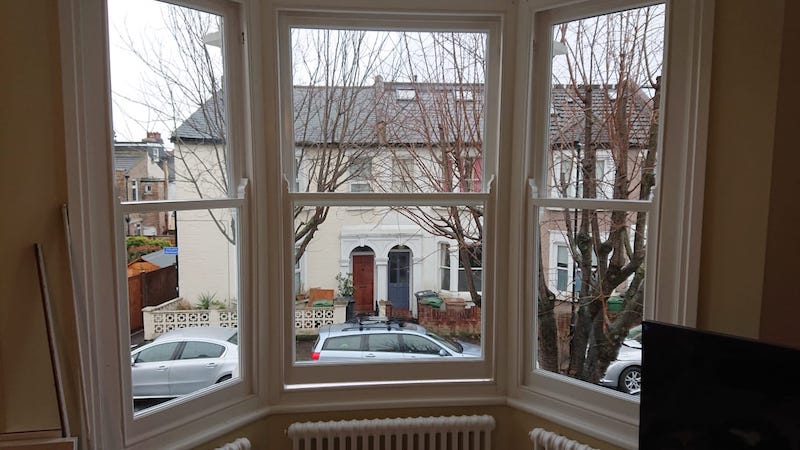
The property was then cleared of the old single glazed sash and cleaned up inside as well. Here’s a look at the bay window ready for furniture. This particular bay didn’t require much in the way of repairs to the frame, this was downstairs that sills needed replacing and splicing.
On the second day we finished up the single window upstairs first. The tops sashes were fixed to reduce mechanism cost and this also helps with the acoustic and thermal efficiency. The sashes on this install were relatively square when compared to the bay double glazed sash windows on the previous install. I’ve link that case study just in case you’d like to take a look. Sometimes we need to machine the sashes to fit the original frame so that they fit nicely.
We then moved downstairs to begin the process of installing the double glazed sashes. Before we could do so sill replacement was required. If you look at the picture below you can see we spliced and replaced the sash window sill in hardwood. The repairs are resin bonded and screwed together for good measure. All timber surrounding the splices are treated to ensure that we end any potential rotting issues.

As you can see from the double glazed sash windows picture below, we try to splice our sill section in the same way as they were installed originally. this helps us maintain the original look and the hope is that you can’t tell the window sill has ever been spliced. We then prime the the hardwood sill and seal in. The process of replacing the sill starts with removing the internal nosing. Then we cut the sides of the frame and remove the sill from behind the pulley stile. At this point a sill is then cut to length and housed back into the frame. The joints are bonded by resin and screws. This solves any issue of moisture or heat cracking the repair and allowing rot to set in.
Sash windows installed
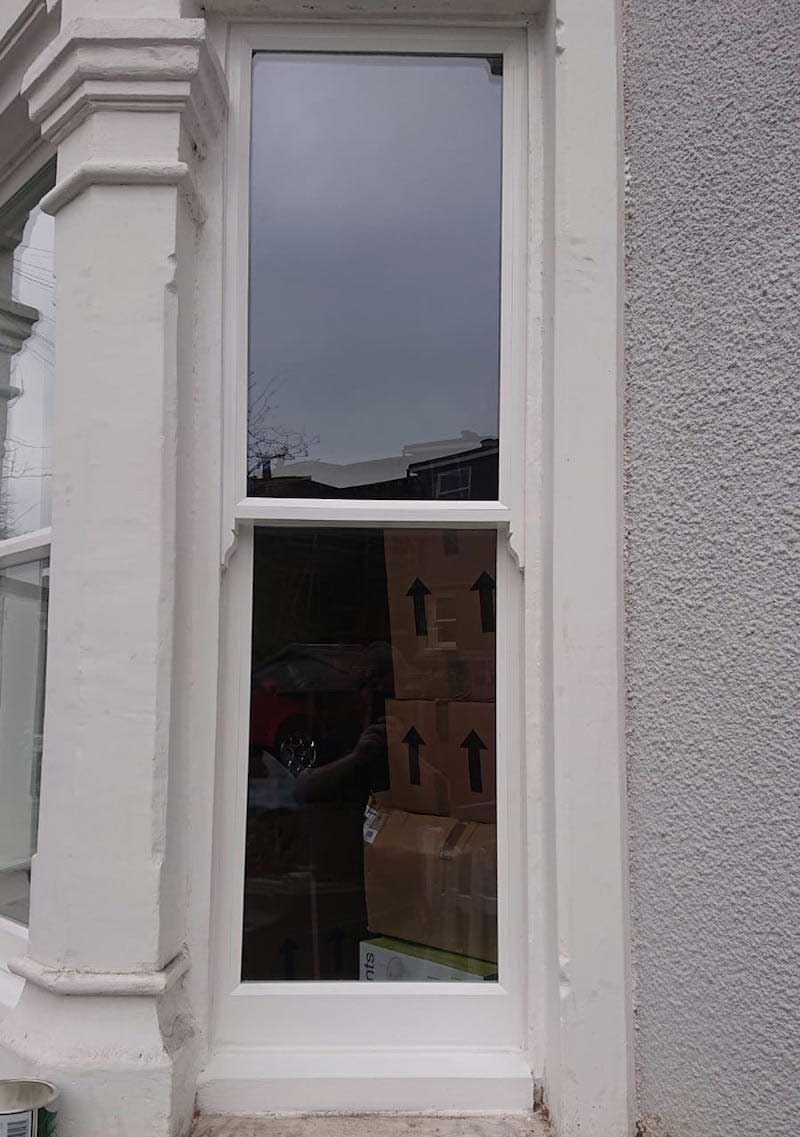
Here’s a look at the glazed sash windows windows with sill. It’s hard to tell the sill has been replaced but more importantly, it’s also not overly obvious the window is double glazed. The only obvious way to tell this windows isn’t single glazed would be the glazing reflection. The two panes of glass give off a sheen that single glazing does not.
With the sash windows installed and primed, we then fitted the furniture. The client chose Chrome, but we offer all finishes. Here’s a look at the install from the outside lower bay, it’s looking a lot happier for itself than previously with the old obscure glass:
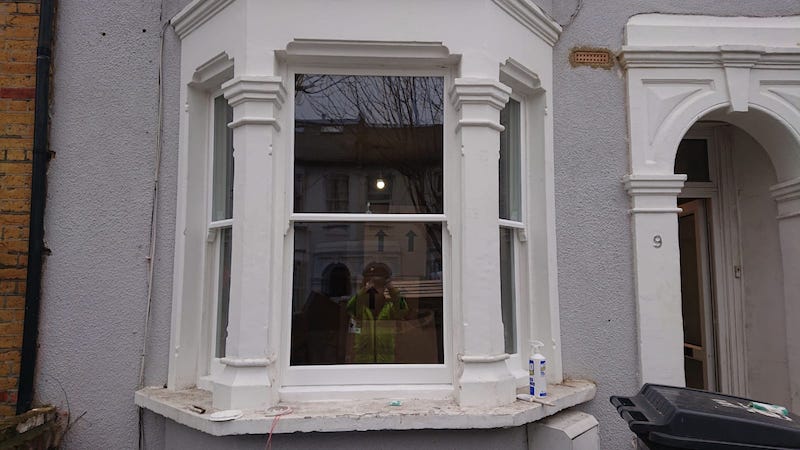
The masonry and surrounds need a lick of paint but overall its in excellent health structurally. The stonework is looking a little tired but once a decorator can square this up with a bit of Tetrion filler all will look lovely, the sash already do!